After two and a half years I have parted with my beloved Renkforce RF100.
On the whole, I was satisfied with the „little one„. But in the end it was just that: too small for larger tasks.
So a new, larger 3D printer was needed.
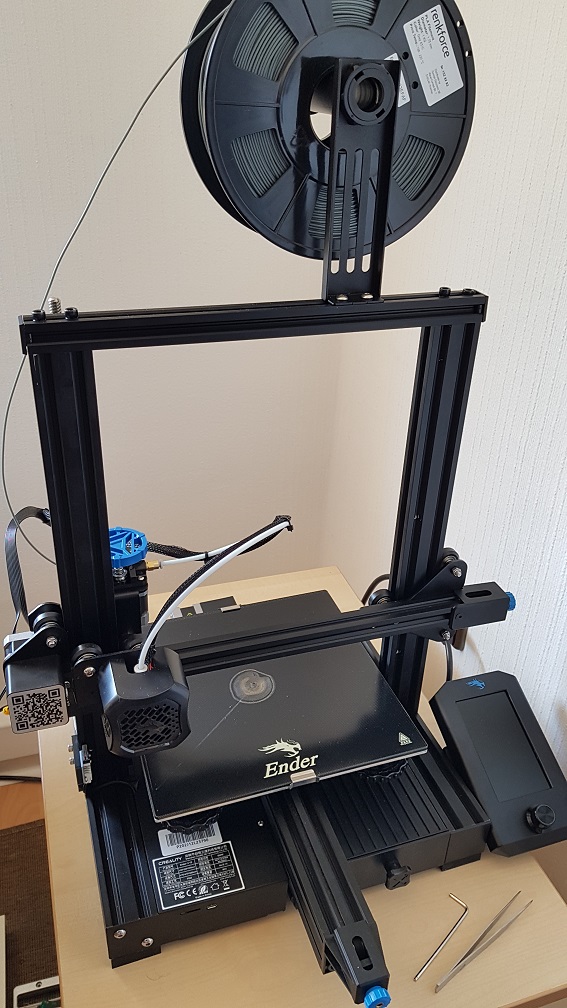
After careful consideration, my choice fell on the Creality Ender 3 V2. The feedback on the net was consistently positive and the price was very attractive for a printer with its technical features. So: ordered from the electronics supplier I trust!
The following day, the printer was already there:

The assembly took me about a good hour. The base frame was delivered already pre-assembled, and I think the assembly is relatively manageable even for non-professionals. The assembly instructions are not the best, but I found numerous helpful tutorials on the net for assembling the device.
The only drawback from my side: the threaded rod of the Z-axis was lubricated with an extremely large amount of bearing grease. This made it much more difficult to handle during assembly, and I had to partially degrease it because the lubricant accumulated on the axis feedthrough of the servomotor and would have dripped down at some point.
Then it was time to try things out. This is where the first problems arose:
After startup, I tried to move to the reference point via the printer display (Autohome). The procedure got stuck. The screen was frozen and nothing worked. So: switch off – switch on. The same.
Net research until I found a few forum articles on the subject. It was about swapped or loose motor plugs. I checked everything. No, it definitely could not be that. The worst case would be a defective dip switch (limit switch) on one of the axes.
Ah! Limit switch?! Then I turn the Z axis until the extruder bridge is in the middle of the height. And: Tada! The autohoming suddenly works perfectly. However, this realization took me a good two hours.
Next, I loaded the filament that came with the machine. Finally, I wanted to make a first print attempt. Loading new filament was a bit tricky at first, but once I got the hang of it, it went pretty quickly.
For the test print I chose a simple model from my fund: an open ring. For printing, I sliced it in Cura and copied the *.gcode file to the included micro SD card.
SD card inserted in the printer, filament/print bed heated – off with the print!
At the beginning everything seemed fine, but after about four minutes I heard a strange noise, as if one of the actuators was creaking/spinning. And indeed, something seemed to go wrong during printing. The filament had accumulated into a shapeless mass after a correctly printed 4mm. After a check, it became clear very quickly that the Z-axis seemed to be spinning.
Long story short: it took me a good hour to fix the problem. The locking collar for connecting the Z-axis actuator and the threaded rod must be tightened at both ends with brute force and, if possible, without damaging the Allen screws.
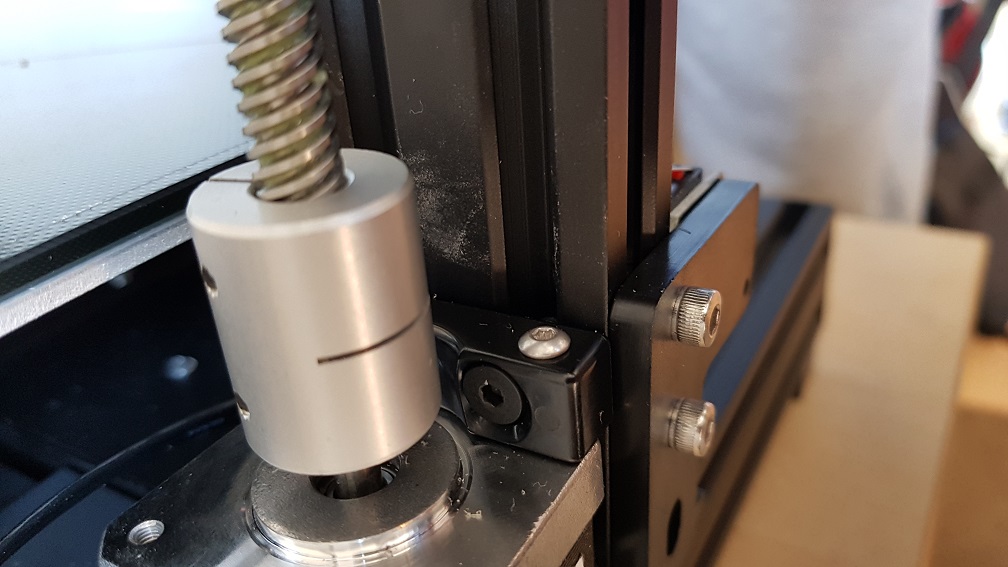
Otherwise, one of the two axes will slip and the extruder bridge will remain stuck at the same height.
Then, of course, I wanted to control my new 3D printer via the computer. So I connected it via USB data cable to my computer (Windows10 Pro as operating system/Intel NUC with 64-bit system).
What can I say… The driver was not found. The driver supplied on the micro SD did not work. The automatic and manual driver update via the device manager also did not produce any results. So what to do? Exactly! Search the Internet again.
At this point, it was less easy than I thought. First, I tried to find a suitable driver on the manufacturer’s site. Wrong. After a long search, I finally found a link in the depths of some forums to another vendor’s site for the appropriate driver (http://www.wch-ic.com/download/ch341ser_exe.html). On the official Creality site, only drivers for 32-bit systems can be found. Lo and behold, the driver installation worked and my operating system recognized the new 3D printer.
But the Saturday odyssey was not to end there, because my first print attempt via Cura went completely into the pants. The axis control was completely random and I was on the verge of despair. Then I remembered that I had seen Creality Slicer on the supplied micro SD. So I quickly installed the program. It is nothing else than a branded Cura version from Creality. And here there were actually also a few more printer versions in the selection than in regular Cura – where the Ender 3 V2 is missing from the device list, for example.
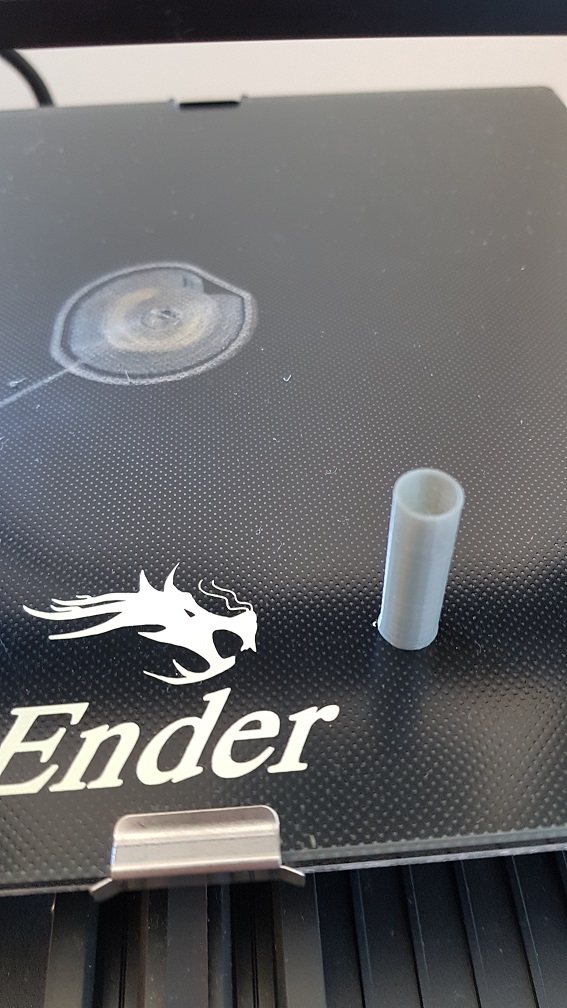
And, what can I say, by the end of the day I had produced my first presentable print:
Conclusion:
Pros:
- Price/Performance
- Relatively simple assembly
- Print quality
- Very quiet mechanics
Deficits:
- Greasy Z-axis
- Fixing of the Z-axis problematic
- Extremely noisy extruder fan (ruins the quiet mechanics)
- Printing plate already heavily attacked after the first print
- Complicated setup with computer
- Insufficient documentation (also concerning the drivers etc.)
Overall rating:
I think I have made a good grip, but am definitely excited. The first project is coming up and there is a lot to print….
Stay tuned!